 |
|
|||
| First | Previous | Next | Last | Introduction |
Final
forging of the cusps and
filing the latch grip
The latch forging is finished when the cusps are final-forged. A grinder is used to refine the shape of the cusp and the edge of the cusp is filed so that the form is balanced. A design is chiseled lightly into the grip. The design is filed and the grip is filed smooth overall.
Heats 24 through 28
The cusp is spread to its final size (a pattern is drawn onto the anvil face as a reference). After the top cusp is finished, the slot is redrifted. The bottom cusp is finished last.
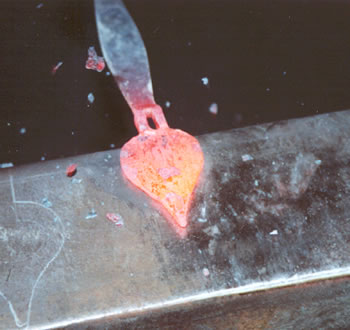
In this picture you can see the scale flying after a blow of the hammer.
Heat 25
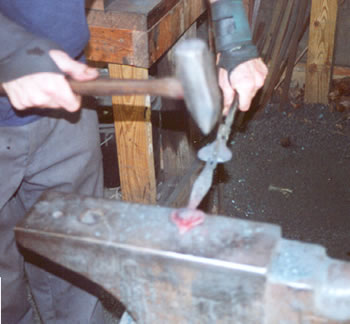
The cusp point is drawn further on the horn with the hammer at the end of final spreading with the face of the hammer.
Heats 27 & 28
The bottom cusp is spread even more with the peen of the hammer in heat 27 and finally, in the next heat, spread and refined with the face of the hammer.
Through heat 28
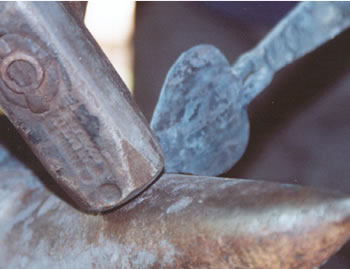
The original size of stock is shown at the left and the final forging is shown to the right.

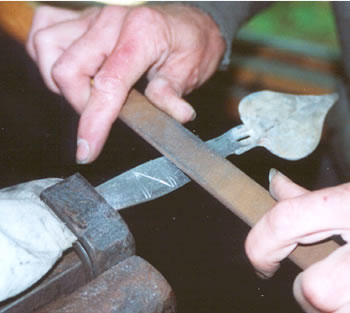
Filing the grip
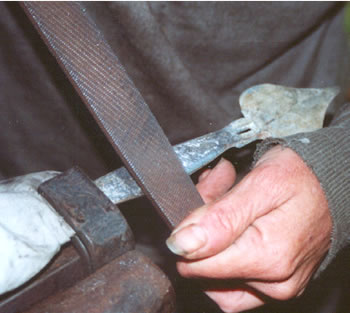
The grip, after the design is filed, receives an overall smoothing with several files descending from coarse to fine. The forging is held in the vise with a special tool -- a piece of rag helps protect the surface.
Final draw filing
The last stage of filing is draw filing the surface, dragging the file perpendicularly across the grip.
Making a Latch
is a description, with photos, of the steps we go through to make a Suffolk Latch.
Making a Hinge
is a description, like Making a Latch, that shows the steps we go through to make a Butterfly Hinge.
Making a Grip
shows the process for making a Cabinet Grip.
Blacksmith's Blog Posts
collects posts we created for the Horton Brasses blog in 2010 and 2011. There's information about the shop, what we make and how we make it, including links to two videos.
Tools of the Trade
shows some of the tools in Molly’s blacksmith shop.
Making a Living
describes how we became blacksmiths.
Glossary of Blacksmithing Terms
is linked to various words that are not commonly known by non-smiths throughout this section of the site.